Welcome back to Through the Lens with Nick Leadley, our continuing series on wildlife photography. Read the rest of the series here.
For most photographers, self-evaluation is the hardest of tasks. You have spent hours photographing birds, and even more hours staring at a computer screen or gazing through a loupe (for anyone still shooting film).
If you’re at all like me editing images for hours on end is one step removed from water torture. And who likes that? So let’s make the job of editing your bird photographs a bit easier. And we’ll do that by backing up a bit to where editing should indeed start…in the field.
I am referring to making decisions before looking through the camera, and then editing while looking through the viewfinder.
Often birds have favorite branches or shrubs they will return to during the day, to feed or engage in other behaviors. Finding these perches and setting up before a bird arrives can result in great photos. Evaluate the perches not only by their appearance. Look at the background behind the branch. Is it filled with twigs and branches close behind the perch? Is the background a distance away from the branch, resulting in a smooth, clean appearance?

Is the perch on an angle or parallel to the ground? Is the perch a dead limb or one with some leaves on it? How high above the earth is the branch? All important considerations. I tend to prefer angled perches. I’ll explain why in a bit. I do not mind dead limbs as they offer a clear view of the bird. If a perch has leaves, I’ll look for one that has as few as possible or is near the top of a small tree or bush.
So you’ve found a perch, your’s and one for the birds. And the bird has appeared. Before you press the shutter button, look through the viewfinder and edit with your eyes. Ask yourself some questions about the composition of the image before you:
-
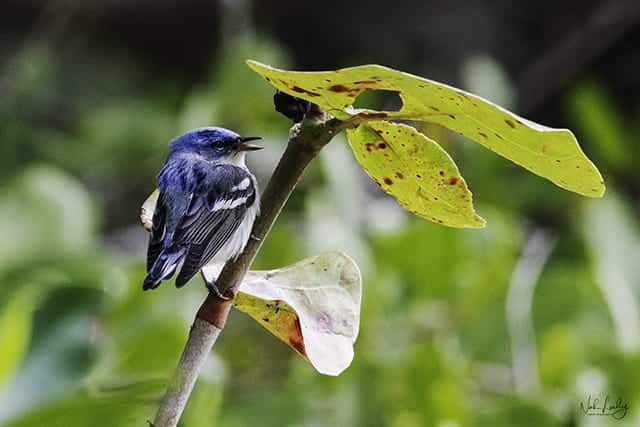
- Is the bird perched on an angle with one foot higher than the other? This position creates a more dramatic “pose” that is far more interesting. Angled limbs or branches result in the bird assuming this position.
- Is the bird’s body slightly on an angle away or towards the camera? Is it positioned with its back to the camera? Is the bird’s head turned to one side or the other?
- Is the bird looking at the camera or slightly to either side of the camera?
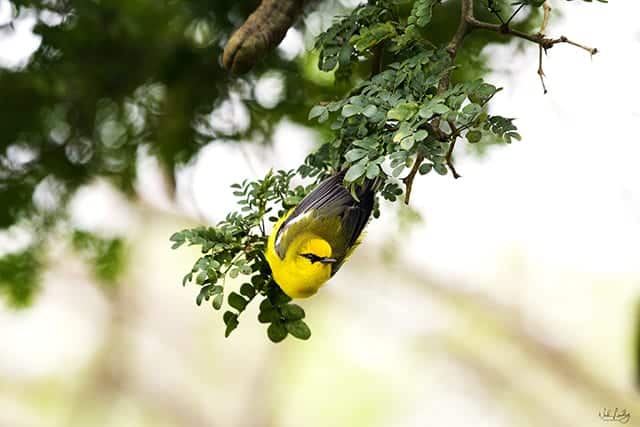
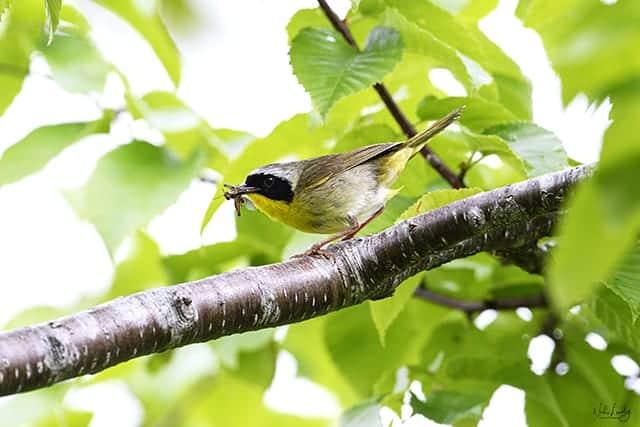
- Is the bird engaging in any interaction with other birds, i.e., engaging in courtship behavior; gathering food, feeding or carrying food; males singing or involved in territorial defense; sitting on a nest, nest building or feeding young; preening or with wings spread.
One tip of getting songbirds singing: usually the song is repeated at nearly regular intervals. As the bird sings, count the number of seconds between the phrases in the song. Fire the shutter several times when you reach the number of seconds when the bird is likely to sing again.

Common Yellowthroat by Nick Leadley Some simple observation of the bird’s behavior and its habitat will help you take your bird photography to a higher level. Taking the time to do so will pay off.
If you have any suggestions for future blog posts or questions you would like answered, please do not hesitate to contact me through my website at www.touchthewildphotos.com. Have fun!
