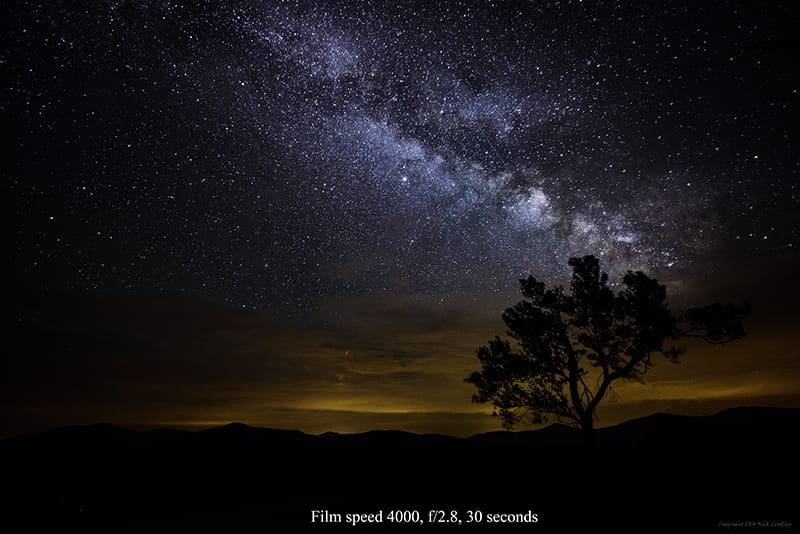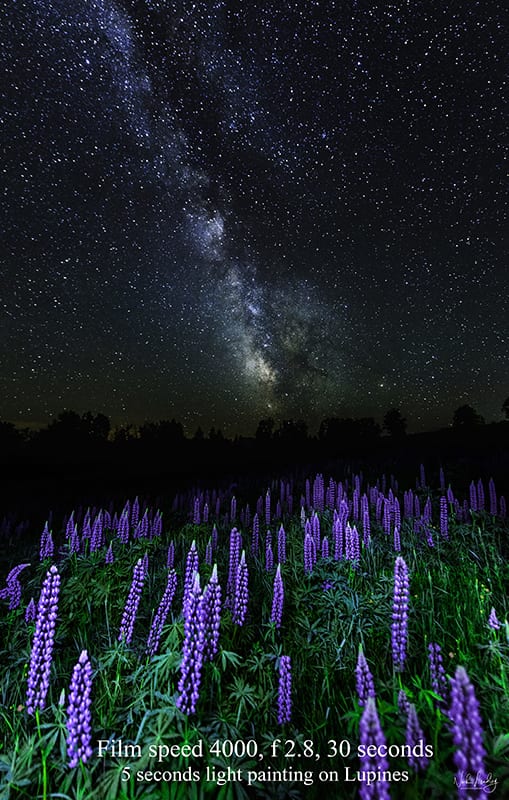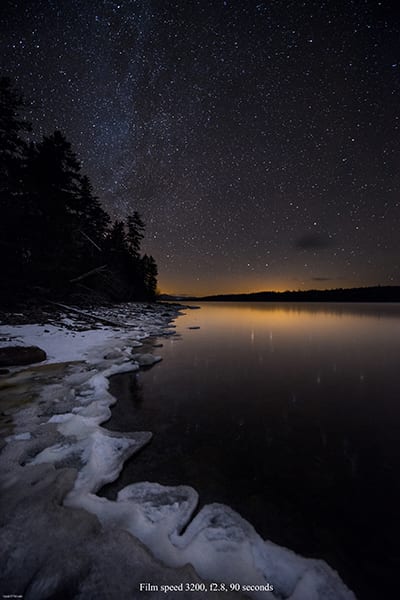
Night sky photography has become increasing popular, particularly with all the advances in digital cameras. This month’s article, written at the request of a reader, will introduce the basics of night sky photography. As this is a rather in-depth subject, I will include links to a few websites that do a good job of covering the topic in greater detail.
Let’s start with a list of what you will need. Topping the list should be a digital camera with manual exposure controls. Here’s the rest:
- A good sturdy tripod;
- A cable release or intervalometer;
- A wide-angle lens with an aperture of f/4 or f/2.8;
- A hiker’s headlamp with a red light, to help you see in the dark without interfering with night vision.
That’s the basic list. So, let’s soar into the world of night sky images.

Let’s get started by finding the right combination of aperture and shutter speed. It is not difficult. The only real math here is involved in finding the shutter speed. To do so use the following formula: 500/focal length of the lens.
Here’s an example: Using a Nikon 14-24mm wide angle lens set at 14mm, divide 500 by 14, which equals 35.7 seconds. The resulting exposure is f/2.8 (the aperture setting) at 35 seconds (the shutter speed). Using this formula determines the maximum shutter speed before the stars start to appear as streaks in the night sky. Some photographers consider this an outdated and less technically accurate way to determine exposure, but it’s a good way to get start learning.
To achieve a 35-second shutter speed requires a camera with a “BULB” shutter setting. This means if you hold or lock the button down on the cable release or intervalometer the shutter will stay open.
In selecting a film speed, I tend to start at ISO 2000 and adjust from there. As far as white balance I will that set on AUTO, though switching to a white balance with a bluer cast can result in some interesting images. Just experiment and see if you like the result.
There are several different ways of capturing star trails. These methods are mentioned in the online articles included below. Processing night sky images is also covered on those websites. One of the best ways to learn night sky photography is to take part in a night sky photo workshop, several which are available in Maine and across the United States. A simple web search will turn up listings of those workshops.
Here are the links:
https://www.artinnaturephotography.com/gallery/twilightarticle/
https://www.tl-photography.at/stars/night-sky-photography-shutter-speed-calculator/
https://petapixel.com/2017/04/07/npf-rule-formula-sharp-star-photos-every-time/
If you have any questions about night sky photography, feel free to contact me through my website at www.touchthewildphotos.com. Have fun!

